
There may be affiliate links in this post. If you purchase through these links we may make a small commission at no cost to you. Please see our disclaimer, terms and privacy for more information.
Contour is a makeup product that has been trendy for a few years, yet many people don’t really understand what contouring is or how it is different from bronzing. Read this ultimate guide to contouring to learn about contour, application tips, and more!

What is Contouring?
The word “contour” means an outline, or a line representing an outline. It is also used to talk about the general structure of something.
In makeup, to contour means to define certain areas of your face using a product slightly darker than your skin tone in order to create the illusion of shadows and sometimes, more angular lines.
Thinking about the original definition of the word contour, this makes sense – we want to accentuate certain “lines” on our face by contouring them, such as the jawline or underneath the cheek bones.
Contour vs Bronzer
Both contour and bronzer are used to add depth to specific areas of the face by using products deeper than your skin tone.
In my accompanying article about bronzer, I explain the difference between bronzing and contouring as follows:
Contouring creates “shadows” (or the illusion of shadows!) on the face, using a cool toned matte cream or powder. This defines the face, especially along the cheekbones, jawline, forehead, and nose.
Bronzing also can create definition, but primarily focuses on bringing warmth and radiance to the face using a warmer toned product. Bronzers can be matte or shimmer, and come in a wide range of formulas.
You can use only contour, only bronzer, both, or neither. The main difference between them is the color, with contour being cooler toned and bronzer being warmer toned.
Author’s note: in my opinion, contouring isn’t something that most people do on a daily basis unless they are doing full glam makeup. Contour tends to be a bit harsher than bronzing, requires more precision, and doesn’t always look very natural (which is okay, that’s the point sometimes!). Bronzing, on the other hand, is definitely a part of a lot of people’s daily makeup routines, as it is less precise and can be done quicker and easier than contour. If you wanted to contour every day, you definitely can, but I personally don’t go through the effort of contouring unless it is a special occasion.
Types of Contouring Products
Powder Contour
Like the name suggests, powder contour products are made from powder cosmetics. They can be either pressed or loose powder, though pressed powder is much more common.
If you are want an entirely matte finish or have oily skin, powder contour products might be the best choice for you.
Cream Contour
Cream and liquid contour products can come in many forms, but are primarily found in a compact or palette, or as a cream stick.
If you have dry or combination skin, want a dewy finish, and love blending out foundation and other cream products, I would suggest a cream contour formula for you.
While creams aren’t always as easy to blend out as powders, as long as you apply the product in the correct order in your makeup routine you should be fine. Cream contour should be applied before powders, which would mess with the blending process.
Matte or Shimmer Contour?
Because so many products are available in both matte and shimmer formulas, beginners often get confused and don’t know which to pick. Luckily, contour is almost always matte. I don’t think I would ever suggest a shimmer contour to anybody.
If it isn’t matte, it should be satin – which is just a fancy way to say that it has a slight sheen when applied on the skin, and usually this makes it look very skin-like.
Why should you not get a shimmery contour? The goal of contouring is to create the illusion of depth and shadows on your face; you don’t want the contouring product to catch sunlight and reflect it back to you. That would break the illusion!
If your contour is sparkling, I would suggest using it as a bronzer or eyeshadow instead.

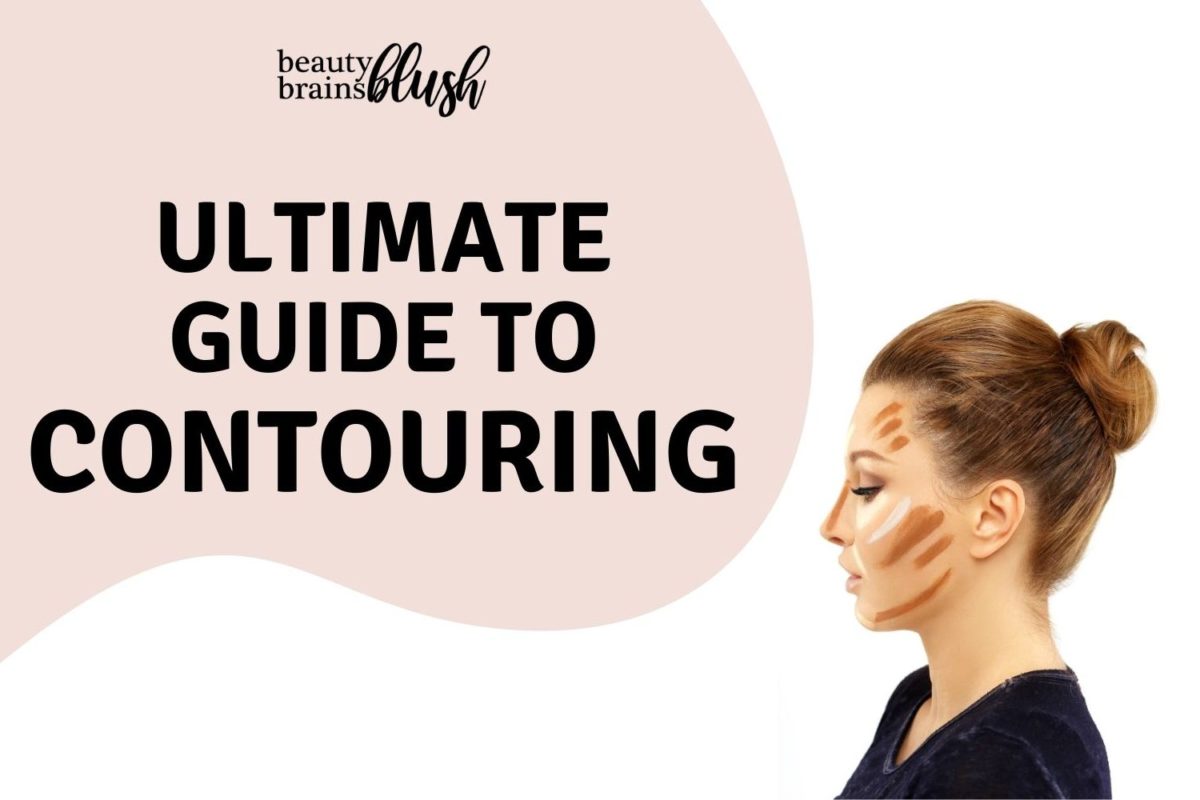
Example of contour (darker shade) and highlight (lighter shade) placement on the face.
How to Contour: Techniques for Beginners
Since the goal of contour is to create the illusion of shadows on your face, you want to apply contour products to parts of your face that are naturally shadowed or you want to bring further back, not forward.
For most people, the areas they wish to emphasize with contour are under their cheek bones, on their jawline and under the chin, on the sides of their nose, and the perimeter of the forehead at the hairline.
When I personally contour, I mainly apply product underneath my cheek bones. I might take a small amount of product onto the other mentioned areas, or I might simply use leftover product on my sponge or makeup brush to sweep the product across my jawline or forehead. There aren’t “rules” for makeup, and you can play around with your application techniques to find the best method for you!
Most people use small to medium, somewhat dense makeup brushes to apply cream and powder contour. You can also use lightly dampened makeup sponges to apply and blend out product. Cream stick bronzers can be applied directly, using a brush or sponge to blend out the product on your face.
Powder contours should be applied after foundation, any cream products, and setting or foundation powder have been applied. Cream products can be applied before or after foundation; I would suggest beginning by applying it after foundation and before any powders.
Start by applying a small amount of product in the desired area on the face, and blend it out to your liking. Remember that you can always add more product to make your contour more intense, but it can be difficult to blend out a product if you add too much at the beginning.
Examples
Here is a side-view example of contour placement on a model:

Side view of contour placement.
As you can see, this model has contour applied on the bridge of her nose, along the jawline, underneath the cheek bone, and on the side of her forehead above the temple and brow bone. This is a good starting guideline of where to apply contour on your face. The shade used on this model is several shades darker than her skin tone, which will create a bold contour look once blended into the skin.

More natural contouring example.
In this second example, the model has less contouring product applied. Contour is placed under the cheek bone and on the forehead above the brow bone. Unlike the previous example, there is no contour on the nose or the jawline. Additionally, the contour shade used on this model is a only a couple shades deeper than her skin tone. This will look more natural when blended out than the previous model, whose contour is comparatively darker.
Contouring Tips
- Choose a cool toned shade that is slightly deeper than your skin tone.
- Have a foundation or concealer that is slightly too dark for you? Use that to contour!
- Start with less product and build up to your desired amount.
- If you are using cream product, work in sections on your face. This will prevent the product from drying down too quickly, making it difficult to blend.
- Blend more than you think, especially if you contour your jawline! You don’t want your face and neck/body to not match.
- Contour based on your face shape.
- If you’re contouring your nose, use an eyeshadow brush so you can be more precise and have better control.
- Use a small amount of contour in the crease of your eye as an easy and quick eyeshadow look!
Recommendations
If you’re looking for a recommendation on a contour product, check these out!
Powder Contour

Cream Contour
Contour Palettes
Inexpensive Contour Products
Pin this for later:

I hope that this ultimate guide to contouring was helpful for you, whether you are a makeup beginner or you’re brushing up on your contouring knowledge.
If you’re new to makeup and want to learn more, check out our Makeup 101 article to learn an overview about all categories of makeup.
What is your favorite contouring technique and product? Share them in a comment below, I’d love to check them out!




Leave A Comment