
There may be affiliate links in this post. If you purchase through these links we may make a small commission at no cost to you. Please see our disclaimer, terms and privacy for more information.
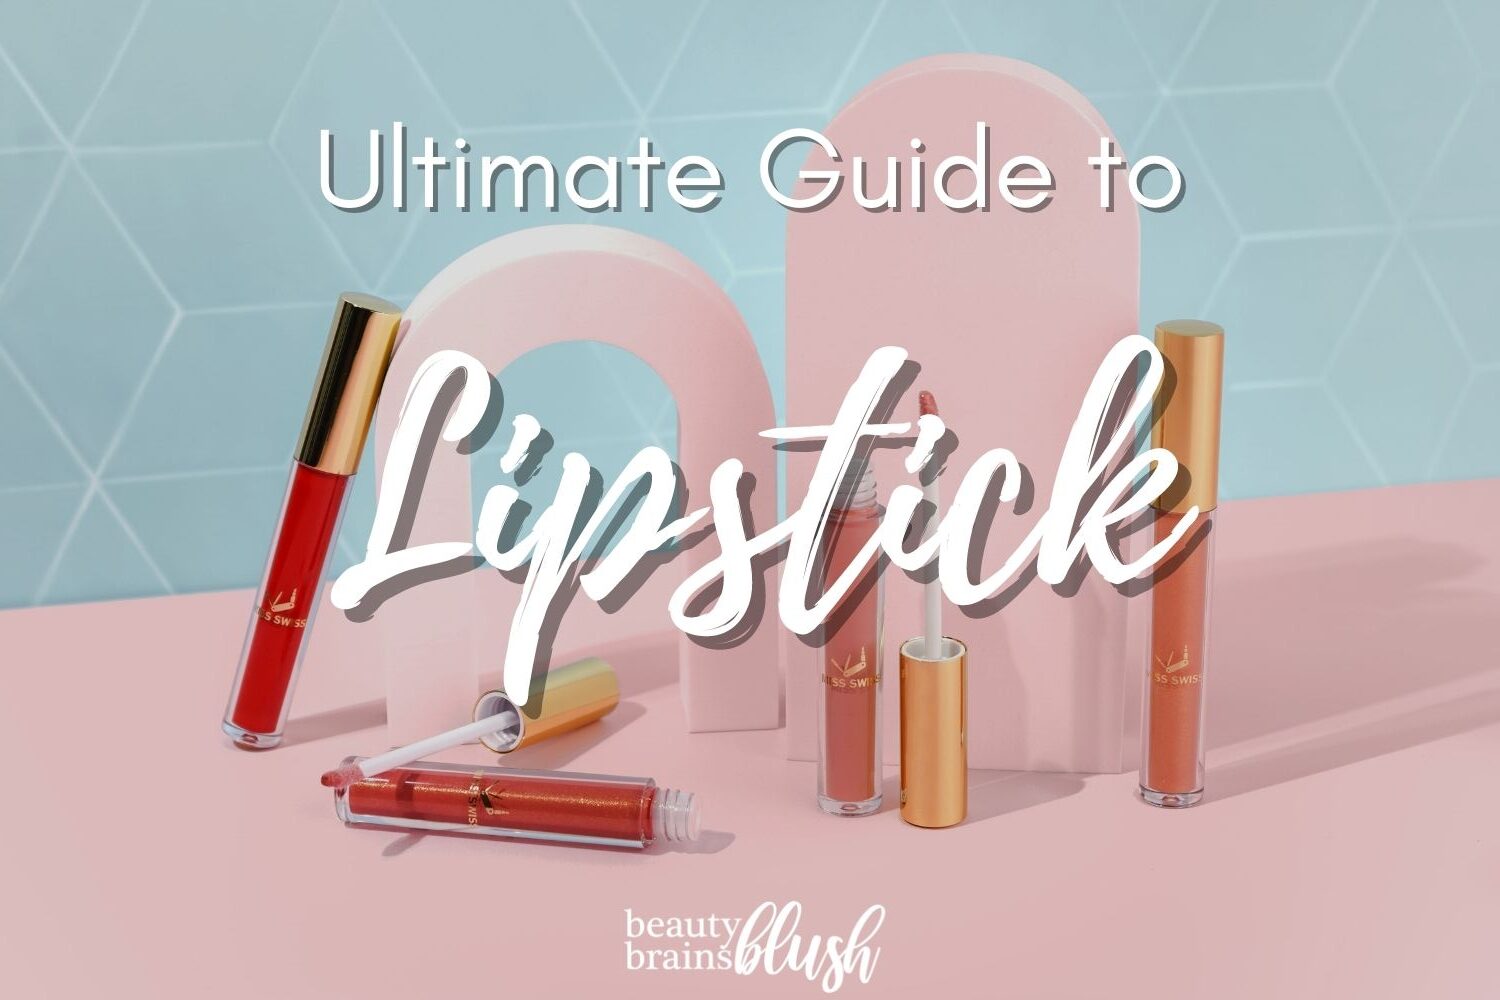
Pressed powder foundations have been around for quite some time, but setting powders have become much more popular in the past few years. Not sure why there is such a hype around this simple makeup product? Keep reading this ultimate guide to loose setting powder to learn more.

What is setting powder?
Setting powders are cosmetics powder products used on top of cream or liquid products to set them on the face.
There are a few different types of makeup powders. Let’s go over them.
Pressed Powder
Exactly like it sounds, a pressed powder is a powder that is pressed, similar to a matte eyeshadow, blush, or other powder cosmetic items. Pressed powders are usually tinted and available in various skin-toned shades. They provide light coverage.
Since they are pressed and are much less messy than loose powders, pressed powders are perfect for throwing in your purse for on-the-go touch ups.

Loose Powder
Contained in a jar, loose powders are composed of small powder particles that are finely milled and, well, loose! Loose powders can be skin-tone tinted and provide light coverage, or they can be translucent.
Translucent Powder
Because translucent powder is not tinted, it should not leave any color on the skin or provide any coverage – it simply sets the makeup, controlling oil and shine.
Translucent powders can be found both pressed and loose, but are most often found and used in loose powder forms.
HD/Finishing Powder
Similar to translucent powder, HD or Finishing powders are not tinted and should not add any color or coverage to the skin. They are typically white and aim to minimize pores, lines, and give an overall airbrushed look to the skin.
Because of their ingredients and white color, HD and finishing powders are more likely to cause flashback than translucent powder. They also are more likely to leave a white, ashy-looking cast on darker skintones.
Mineral Powder
Available in pressed powder compacts and loose powder jars, mineral powders are tinted powders that provide some coverage. They are made of finely milled minerals and claim to be better for your skin than other powders.
What is baking?
“Baking” your face (or parts of your face) is a makeup technique that uses powder to “lock in” and set your makeup, helping it last longer! Since a lot of powder is put on the face, it will help absorb oil and keep you looking matte – but can be too drying for people who have dry skin.
The technique of baking involves a loose or translucent setting powder applied in a thick layer to the skin. Typically, translucent loose powder is applied with a makeup sponge to areas of the face that need to be set because of their oiliness and increased change of creasing, such as the T-Zone, smile lines, and under the eyes.
After a layer of powder is applied to the face, you let it sit there for several minutes. The idea behind baking is that the natural body heat radiating from your skin will be trapped underneath the thick layer of powder, quite literally causing the powder that is touching your skin to be “baked” on and be a more resistant layer than normal.
At the end, a fluffy makeup brush is used to wipe away the excess powder, leaving a flawless and long lasting area of makeup behind.
Should I use a setting powder instead of a setting spray?
If you’ve read the Ultimate Guide to Setting Spray, maybe you’ll remember that there was a similar section in that article.
Both setting powders and setting sprays have their own advantages.
Setting powders are more dying to your skin than setting sprays. If you have oily skin, you may find that a setting spray doesn’t keep your makeup from slipping around throughout the day – in which case, I suggest you use both a setting powder and a setting spray! Using only a setting spray won’t be enough for you, and a powder will be necessary to keep oil controlled throughout the day.
Conversely, if you have dry skin you may find that setting powders are far too drying and make your skin look flakey! In that case, you can lessen the amount of powder you use or ditch it completely, and opt for a setting spray instead.
Personally, I have combination skin – with both oily and dry spots. Throughout the year my skin changes too! In the summer when it’s hot and I sweat more, my skin gets much more oily, and in the winter it dries out. Because my skin has different needs at different times, I change my routine accordingly. In the winter I ditch (or very minimally use) setting powder and only use a setting spray. In the summer, I will pack on the powder and use a setting spray to melt it into my skin and get rid of that “cakey” powdery look! But no matter what, I always use a spray.
Here’s an infographic comparing the benefits of the two products:

Which setting powder should I use?
I don’t think you have to choose just one setting powder to use.
Let me explain why using multiple setting powders can be beneficial!
Lightly setting your face with a loose tinted powder or mineral powder will add a bit of coverage, while keeping all your makeup in place.
Baking (or just normally using!) a translucent powder in your tricky areas, like under your eyes and on your nose, can help with makeup that might normally “slide off” your face.
Having a compact, pressed powder to throw in your pocket or keep in your car for on-the-go touch ups is super convenient.
Do you see what I mean? There are so many ways you can use multiple powders – but you don’t need to use multiple if you don’t want to.
If you want to choose only one powder to use, I would recommend a loose translucent powder. It is the most universal, both in shade and versatility. Here are my personal favorites:
1. Laura Mercier
This translucent setting powder is a beauty cult favorite. It’s my personal favorite because of how light and finely milled it is!
Since this is a high end makeup product, it is quite a bit more expensive than a drugstore alternative – but it is very high quality.
2. Coty Airspun
This drugstore classic is cost effective and works great. You’ll have to get past the intense fragrance, but if you can overlook the smell (which isn’t bad, just strong) it’s an awesome powder.
Shop at Amazon
3. Maybelline Fit Me
Okay, this one is NOT translucent. If you want one that you can match to your skin tone, check out the shades of this affordable but loved powder.
How do I use setting powder?
The easiest way to use setting powder is with a fluffy makeup brush. Swirl your makeup brush in the powder of your choice, tap off excess, and pat the powder onto your skin.
When you first apply, patting the powder onto your skin will help it set the cream or liquid products you put underneath! If you initially start swiping the brush, dragging it over your skin (even lightly) it can move the cream and liquid products and cause brush strokes in your makeup – we don’t want that!
After you have a light layer of powder patted over your face, you can swirl your brush around to evenly distribute it and knock away any excess powder.
Alternatively, you can apply setting powder using a method called baking. Baking is explained more above.
To bake, open a jar of loose powder (usually translucent) and press a makeup sponge into it. Take your sponge and press the powder side directly onto your face where you want to bake. Repeat until you have a visible layer of powder everywhere you desire.
Wait 5-10 minutes, then brush away the powder using a fluffy soft makeup brush.
Powder makes me cakey, but I need to use it to set my face!!
This is a very common problem!
Powder tends to look unnatural, and using powder on top of liquids can look cakey very quickly.
One easy way to remedy “cake-face” is to use a setting spray after you powder. Setting sprays wet your skin and help the powder to “melt” into the rest of your makeup, making it look more natural.
Still not happy with the way your base makeup is looking? Check out the most common foundation mistakes (and how to fix them) for more help!

Pin this if it was helpful to you!
Check out the rest of the ultimate guides in this series:


Leave A Comment